HTML CSS Mini Projects With Source Code
HTML is the core of the whole web. Anything that content we see online depends on HTML. Assuming you basically right-click on any page and snap on View Source, you will actually want to see heaps of labels, the first being <html> which implies the report is a HTML record.
The basic structure of HTML is:
<!DOCTYPE HTML>
<html>
<head>
   <title>Title of the page</title>
</head>
<body>
   <form action="some_action" method="POST">
   </form>
</body>
</html>
What to Expect from HTML Projects?
Alongside HTML, you ought to have the option to get a handle on a little (or a great deal) of CSS and JavaScript. Every one of the three advances go inseparably, and for the ventures underneath; despite the fact that you wouldn't require any related knowledge with either CSS or JavaScript. These are straightforward yet strong ventures that will provide you with a great deal of growth opportunity.
Elements of HTML
Before we get onto projects, let us rapidly recap the features:
Stage autonomous increase language.
Simple to utilize and learn.
No requirement for any arrangement or establishment.
Joins, pictures, video, sound, livelinesss can be added with little coding.
Not case-touchy.
Simple to compose custom code in different dialects and incorporate with HTML.
Upheld by all programs.
Free!
Why HTML projects?
Projects are the most reasonable method for learning any language, and HTML is no exemption. To fabricate any site, you really want a fundamental comprehension of HTML and assuming you need intelligent custom sites, simply realizing the cheat sheet isn't sufficient - you ought to have the option to carry out your insight for all intents and purposes.
10 Best HTML Projects for Beginners
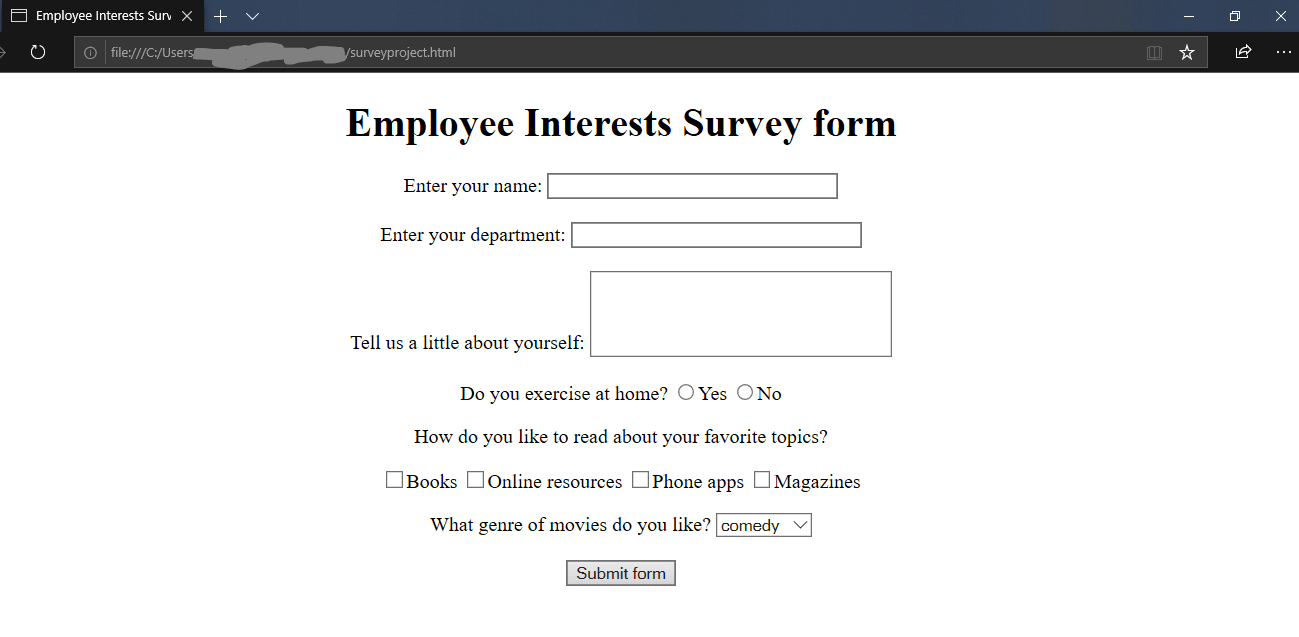
1. Survey Form
<!DOCTYPE HTML>
<!-- This is how HTML comments look like -->
<html>
<!-- the title will appear on the page-->
<head>
<title>Employee Interests Survey</title>
</head>
<body>
<!-- as it is a survey form, we will need to submit the details, hence we use form -->
<!-- We can give absolute url, or relative url like /nextpage.jsp, and specify POST or GET method -->
<form action="http://google.co.in">
<!-- If we remove this, every thing will move to the left of the page-->
<div align="center">
<!--Adds a heading to the form-->
<h1>Employee Interests Survey form</h1>
Enter your name:
<!-- Input type text for small texts, specify size -->
<input type="text" name="UserName" size=35 maxlength=35 value="">
<!--Adds spaces - remove and see what happens -->
</br></br>
Enter your department:
<input type="text" name="Deptt" size=35 maxlength=35 value=""> </br> </br>
Tell us a little about yourself:
<!-- For writing lot of text like descriptions with text wrapping,
if you dont want text wrapping, you can add wrap = "off" (horizontal scrollbar -->
<textarea name="Comments" cols=30 rows=4></textarea> </br> </br>
Do you exercise at home?
<!-- Radio buttons help you choose one out of the many values -->
<input type="radio" name="exe" value=1>Yes
<input type="radio" name="exe" value=2>No
</p>
How do you like to read about your favorite topics?
<p>
<!--Checkbox lets you select multiple options -->
<input type="checkbox" name="Books">Books
<input type="checkbox" name="Web">Online resources
<input type="checkbox" name="Phone">Phone apps
<input type="checkbox" name="Magazines">Magazines
</p>
What genre of movies do you like?
<!--Select box lets you choose one of the multiple dropdown options-->
<select name="moviepref" ><option>
<option value=1 selected = "true">comedy
<option value=2 >romance
<option value=3 >thriller
<option value=4 >horror
<option value=5 >biopic
</select>
</br></br>
<!--submits the information entered in the form by the user -->
<input type=submit value="Submit form">
</div>
</form>
</body>
</html>
Here is how your page will look like:
2. Website Products Display
Product display or product landing page is an exciting project, where you will learn how products are displayed on a website, most interactively.
The below video displays multiple products, one after the other. You will be amazed at how the page is wholly transformed using simple CSS styling.
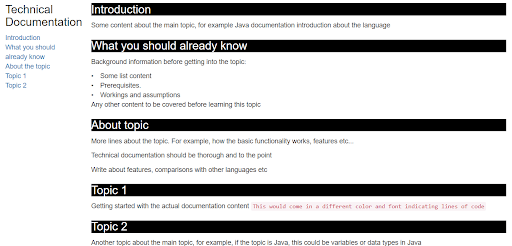
3. Technical Documentation Page
Every language, software, hardware, etc. has technical documentation for information and help. Here is how you can create a simple documentation page, with internal linking from the left navigation to the content on the right of the page. You can check out the documentation for Python, Java, Arduino, etc. for reference on how these pages look. Most technical documentation has multiple hierarchies and pages; however, for simplicity, we have created a simple project to start. You can expand it further and add it as per your wish. Technical documentation could be a beneficial HTML project if you are just starting with your HTML career.
<html>
<!--This example uses the default bootstrap stylesheet-->
 <link rel="stylesheet" href="https://maxcdn.bootstrapcdn.com/bootstrap/3.3.7/css/bootstrap.min.css"
          integrity="sha384-BVYiiSIFeK1dGmJRAkycuHAHRg32OmUcww7on3RYdg4Va+PmSTsz/K68vbdEjh4u" crossorigin="anonymous">
<!--provides a full-width container that can expand or collapse based on the size of viewport-->
<div class="container-fluid">
    <div class="row">
        <div class="col-md-2 col-sm-12 col-xs-12">
            <nav id="navbar">
                <h3>Technical Documentation</h3>
                <!--content stacking for smaller screens-->
                <ul class="nav nav-pills nav-stacked">
                 <!--internal linking to the respective sections-->
                    <a class="nav-link" href="#Introduction" rel="internal">
                        <li>Introduction</li>
                    </a>
                    <a class="nav-link" href="#What_you_should_already_know" rel="internal">
                        <li>What you should already know</li>
                    </a>
                    <a class="nav-link" href="#About_Topic" rel="internal">
                        <li>About the topic</li>
                    </a>
                    <a class="nav-link" href="#Topic_1" rel="internal">
                        <li>Topic 1</li>
                    </a>
                    <a class="nav-link" href="#Topic_2" rel="internal">
                        <li>Topic 2</li>
                    </a>
                 </ul>
            </nav>
        </div>
        <div class="col-md-10 col-sm-12 col-xs-12">
            <main id="main-doc">
                <section class="main-section" id="Introduction" >
                 <!--basic styling for the headings, better practice to do the same in a css file as the styling is same for all headers-->
                    <h3 style = "background: black; color: white">Introduction</h3>
                    <article>
                    <p>Some content about the main topic, for example Java documentation introduction about the language
                        </article>
                </section>
                <section class="main-section" id="What_you_should_already_know">
                    <h3 style = "background: black; color: white">What you should already know</h3>
                    <article>
                        <p>Background information before getting into the topic:</p>
<!--creating list using html-->
                        <li>Some list content</li>
                        <li>Prerequisites.</li>
                        <li>Workings and assumptions</li>
                        <p>Any other content to be covered before learning this topic</p>
                        </artice>
                </section>
                <section class="main-section" id="About_Topic">
                    <h3 style = "background: black; color: white">About topic</h3>
                    <article>
                        <p>More lines about the topic. For example, how the basic functionality works, features etc...</p>
                        <p>
                        Technical documentation should be thorough and to the point
                        </p>
                        <p>
                        Write about features, comparisons with other languages etc
                        </p>
                    </article>
                </section>
                <section class="main-section" id="Topic_1">
                    <h3 style = "background: black; color: white">Topic 1</h3>
                    <article>
                        Getting started with the actual documentation content
                        <code>This would come in a different color and font indicating lines of code
                        </code>
                    </article>
                </section>
                <section class="main-section" id="Topic_2">
                    <h3 style = "background: black; color: white">Topic 2</h3>
                    <p>
Another topic about the main topic, for example, if the topic is Java, this could be variables or data types in Java
                    </p>
                </section>
            </main>
        </div>
    </div>
</div>
</html>
You should get a page like this:
4. Adding Animation
In this project, we will create a simple page, where a car will appear to move on a road. The simple project is a perfect example of how animations can be made easily and quickly. Look out for the use of <marquee> tag for creating this simple animation. Try adding more objects and making them move in different directions for more fun.
5. Animated Website Home Page
In this venture, we will make a landing page that will show a logo and some menu things. You can likewise have a great time with the keyframes tag for activitys. Note how the route menu and the remainder of the page are isolated utilizing the tallness property. You can apply a foundation picture, and change the tallness to 85vh or 100vh and see the distinction it makes.
<html>
<head>
<title></title>
<!-- Apply styles to html elements -->
<style>
*{
margin:0; padding:0; boxsizing:border-box;
}
header{
width: 100%; height: 100vh;
background-color: white;
background-repeat: no-repeat;
background-size: cover;
}
nav{
width: 100%; height: 15vh;
background: black;
display: flex; justify-content: space-between;
align-items: center;
}
nav .mainmenu{
width: 40%;
display: flex; justify-content: space-around;
}
main{
width: 100%; height: 85vh;
display: flex; justify-content: center;
align-items: center;
text-align: center;
}
section h3{
letter-spacing: 3px; font-weight: 200;
}
section h1{
text-transform: uppercase;
}
section div{
animation:changeborder 10s infinite linear;
border: 7px solid red;
}
@keyframes changeborder{
0%
20%
40%
}
</style>
</head>
<body>
<!--Let us create a simple menu using the navigation tags-->
<!--Use header to indicate that manu will be a part of header -->
<header>
<nav>
<div class = "logo" <h3 style="color:white;">MYLOGO</h3></div>
<!--Lets define the menu items now-->
<div class = "mainmenu">
<a href="https://hackr.io/tutorials/learn-html-5">Home</a>
<a href="https://hackr.io/tutorials/learn-html-5">About Us</a>
<a href="https://hackr.io/tutorials/learn-html-5">Contact Us</a>
</div>
</nav>
<!--Let us create the main section now, if you are not using html5, use div tags-->
<main>
<section>
<!--Check out the styling elements for this div class - change_text -->
<div class = "change_text"><b>WELCOME TO XXX ELECTRONICS</b></div>
<!--make text italic-->
<p><i>All your electronics needs in one place</i></p><br>
<!--create a button, if there is a form, you can specify an action on click-->
<input type = button value = "view more">
</section>
</main>
</header>
</body>
</html>
The above code will produce the following output. The color of the box will vary.

6. Video Background Site
This venture clarifies with full source code, how we can add a video foundation to a site page. The closer view contains some text. The venture utilizes HTML5. The speaker likewise advises a basic stunt to keep away from scrollbars. You will likewise figure out how to add text at the very front and style it to show up in the focal point of the page. In the event that you resize the page, the video resizes and comes according to the screen size by setting straightforward CSS values. Recordings behind the scenes can give a beautiful impact to your site and make it intelligent. View the video foundation activity for the code and clarifications.
7. Create an Image Slider
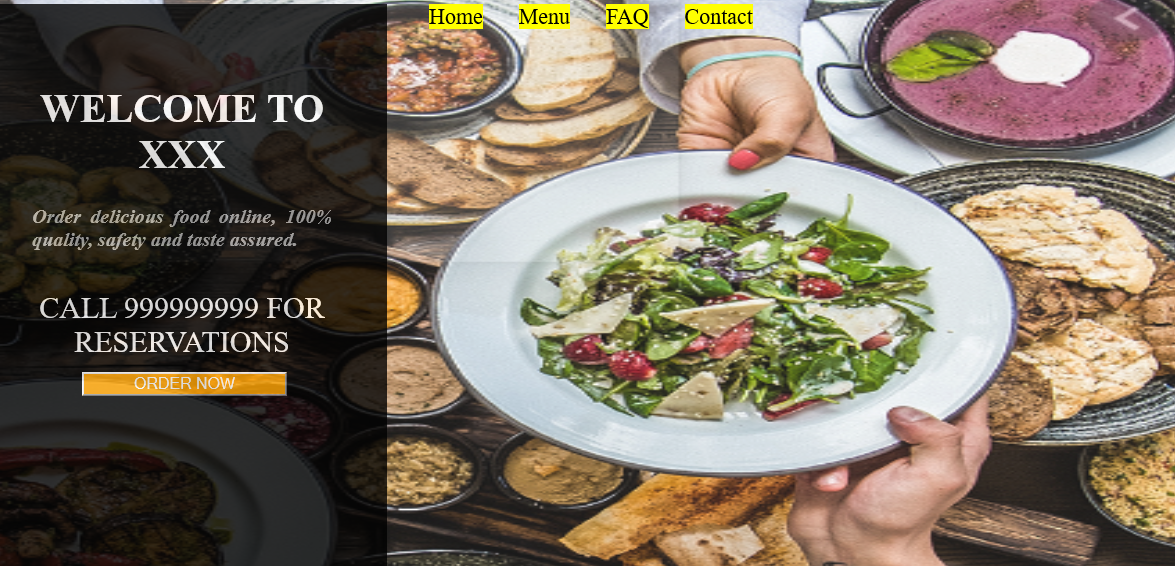
8. Interactive Restaurant Website
<html>
<head>
    <style>
        body{
   font-size:20px;
            color: white;
            background-size: cover;
        }
         .box{ width: 900px;
       float:right;
       border:1px solid none;}
       .box ul li{
           width: 120px;
           float:left;
           margin: 10px auto;
           text-align: center;
       }
 .mainmenu
.mainmenu a
.mainmenu a:hover
.mainmenu img{
position: fixed;
z-index: -1;
top:0px; left:0px; width:100%; height: 100vh;
opacity: 0.9;
/*object-fit:cover;*/
transition: all ease 0.5s;
}
   .wd{
           width: 300px;
           height: 539px;
           background-color: black;
           opacity: 0.8;
           padding: 55px;
       }
       .wd h1{
           text-align: center;
           text-transform: uppercase;
           font-weight: 300px;
       }
       .wd h4{
           text-align: justify;
           color:darkgray;
           font-weight: 100px;
       }
       .wd h2{
           text-align: center;
           text-transform: uppercase;
           font-weight: normal;
           margin: 40px auto;
       }
       .opt form , input[type="button"]{
           background-color: black;
           color:white;
         /* padding:10px;*/
           margin:-14px auto;
           padding-left: 50px;
           padding-right: 50px;
           text-align: center;
           font-size: 16px;
       }
     form, input[type="button"] {
       animation: glowing 300ms infinite;
       font-weight: 500%;
      }
      @keyframes glowing {
 0% {
   background-color: red;
 }
 50% {
   background-color: orange;
 }
 100% {
   background-color: blue;
 }
}
   </style>
</head>
<body>
<script src="https://cdnjs.cloudflare.com/ajax/libs/jquery/3.4.1/jquery.min.js"></script>
<script>
$(function(){
var image = $(".mainmenu").find('img').attr('src');
$(".mainmenu a").mouseover(function(){
var newimg = $(this).attr('data-image');
$(this).parent().find('img').attr("src", newimg);
});
});
</script>
   <div class="box">
<div class="mainmenu">
<img src="food.png">
<a data-image = "food.png" href=""> Home</a>
<a data-image = "menucard.jpg" href=""> Menu</a>
<a href=""> FAQ</a>
<a href=""> Contact</a>
</div>
   </div>
   <div class="wd">
<h1> Welcome to xxx</h1>
<h4> <i>Order delicious food online, 100% quality, safety and taste assured.</i></h4>
<h2> Call 999999999 for reservations</h2>
<div class="opt">
<form action="" method="post">
<input type="button" value="ORDER NOW">
</form>
</div>
</div>
</body>
</html>
The output will be:
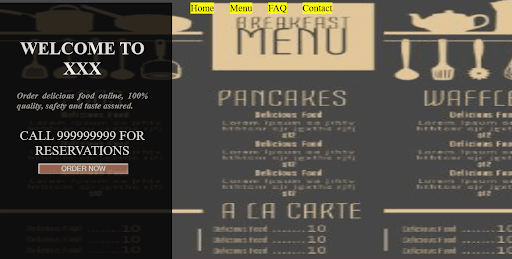
Upon hovering on the menu navigation, the page will look like:
9. e-Voting System
In this task, you will figure out how to take different contributions from the client for an e-casting a ballot framework, including the date, that is displayed as a schedule. Styling has been finished utilizing CSS. You will likewise figure out how to present a structure and divert to the following page. The task tells the best way to add different HTML components like information boxes, radio buttons, dropdowns, and so on; nonetheless, you can add more subtleties to assemble an undeniable structure far beyond the code given in the undertaking video. Watch the video here to figure out how to make this page and present the data.
10. Grid Responsive Website Layout
This is a single-page website page that includes multiple HTML and CSS components. A little complex project, but at the end of it, you should be able to create a page with a CSS grid on your own. The speaker uses simple HTML and CSS elements with good explanations. Whatever you have learned in other projects, you will be able to apply all that and more in this project. The project also includes how to make the page mobile-friendly. The page uses some new techniques like flex and media queries as well. Check out the video:
TAGS:


0 Comments